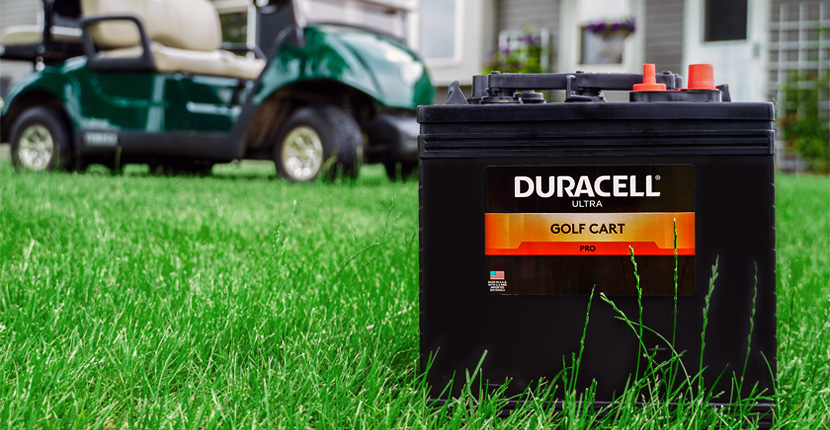
How To Install Golf Cart Batteries
- by Joe Weber - updated on 7/13/2023

Golf season is in full swing, and your golf carts may be in need of new batteries. No one likes downtime waiting around for maintenance to be completed. Installing new batteries in your golf cart doesn't have to be a huge burden with this guide and a little elbow grease.
What Kinds of Batteries Are Used in Golf Carts?
Golf carts take either 6-volt, 8-volt or 12-volt deep-cycle batteries. Generally, golf carts will use 36 or 48-volt systems, which means you will need anywhere from 4 to 8 batteries in your golf cart depending on the voltage of the system. For example, if you have a 36V golf cart with 6-volt batteries, you will need six 6-volt batteries wired in series to reach the 36-volt requirement.
Important Note
When replacing golf cart batteries it is recommended to replace all of the batteries at the same time, not just one or two at a time, for optimal performance and reliability.
If you aren't sure which voltage battery you need, use our helpful fitment finder to see which batteries are available for your golf cart.
Safety First!
Before we get into the steps to replace your golf cart batteries, it's important to remember to be safe while doing so. Whenever you are working with batteries and performing maintenance on your golf cart always wear gloves and safety glasses to prevent unnecessary injuries.
How Do I Install New Batteries in My Golf Cart?
Tools you will need:
- Screwdrivers
- Wrenches or Sockets
- Terminal Cleaner
- Wire Brush
- Terminal Protectors
- Gloves
- Safety Glasses
Steps:
1. Power off and disconnect
Before you begin, make sure the golf cart is in the off position and is not connected to any charger.
2. Locate the batteries
Every golf cart is designed a little differently but for the most part, the batteries will be located under the seat for easy access.
Once the seat is removed and the battery compartment is accessible, take a picture or sketch out the arrangement of the batteries so you can easily recreate how the batteries should be configured.
3. Double-check the new batteries
After you have noted the arrangement, verify that your new batteries are the correct size and voltage before you remove the old ones.
4. Disconnect the batteries
Disconnect the batteries, one battery at a time, by disconnecting the main battery negative (black) cable first and then the red (positive). Continue this process for all of the batteries until all of the batteries are disconnected. Be sure to secure the ends of the cables so they do not accidentally touch.
5. Remove the brackets
After all of the batteries have been disconnected, the brackets that hold the batteries in place can be removed. You may need to carefully pry them loose. Once removed, set aside.
6. Remove the batteries
Remove the old batteries and set them aside, out of the sun if possible. Make life easier by using a battery strap to easily pick up and move the batteries. These are available at your local Batteries Plus store.
7. Inspect the battery compartment
Take a look at the compartment and remove any debris and wipe it down so it is clean for the new batteries.
8. Clean the connectors
Using the cleaning spray and wire brush from your terminal protection kit, spray and scrub the connections to remove any corrosion buildup that may have occurred while the batteries were in use.
Spray each connector with the terminal protection spray from your kit to help prevent any new corrosion from forming.
9. Insert new batteries
Slip the terminal protectors from your kit onto each terminal of the new batteries. This will add another layer of corrosion protection.
Place the new batteries into the battery compartment in the same configuration as the old batteries that you removed. Refer to your picture or drawing if you need a reminder. Tighten the brackets that hold the batteries in place. Remember, this is a pretty compact area so be patient as you work in tight spaces.
10. Connect new batteries
Connect the batteries, one at a time, starting with the negative terminal and then the positive. Reconnect each battery, first negative then positive, until all of the batteries are connected. The last connection should be to the main battery's positive terminal and then the negative.
11. Charge it
Yes, your new batteries will come with some charge but you should connect your new batteries to a charger before you take the cart out for its first ride. Using them, even if they are just slightly depleted, could reduce their life expectancy.
12. Return the old batteries
Once you're all done installing your new batteries, load up the old ones in the truck and bring them back to the store so you can get your core deposit back for your new batteries.
Returned batteries are sent out for proper recycling. Batteries Plus is proud to say we recycle over 40 million pounds of lead batteries every year. To learn more about why it's so important to recycle your old batteries read our helpful article "Why Is It Important to Recycle Batteries?".
Get Your Golf Cart Maintenance Accessories at Batteries Plus
You've got your new batteries but do you have all you need for maintaining your new golf cart batteries? Stop into your local Batteries Plus or shop online for new chargers and other accessories.
Watering batteries can be a pain, make it easy with a new Flo-Rite watering system. Flo-Rite watering systems take the guesswork out of watering your batteries and can make this take so easy, anyone can do it.