Skip to Content

Before You Begin

A flickering or faulty light can be a nuisance. Before calling an electrician, use these tips from the experts at Batteries Plus to learn how to fix a light fixture on your own. These tips can be used to help fix both recessed light fixtures and hanging light fixtures.

Tools You May Need

Before attempting to repair a light fixture, save time and frustration by having the right tools on hand. Although the exact tools you'll need for the job may vary, common tools you should gather include:

  •   Flat-head screwdriver
  •   Non-contact voltage tester
  •   Wire cutters/strippers
  •   Pliers
  •   Wire caps
  •   Wire staples

Safety Tips

Never attempt to handle a light fixture without shutting off its electricity first. Before touching a bare light socket, shut off power to the light fixture's circuit from the circuit breaker box. Then, use a non-contact voltage tester to verify the electricity has been properly shut off. Finally, allow the bulb to completely cool before handling it.
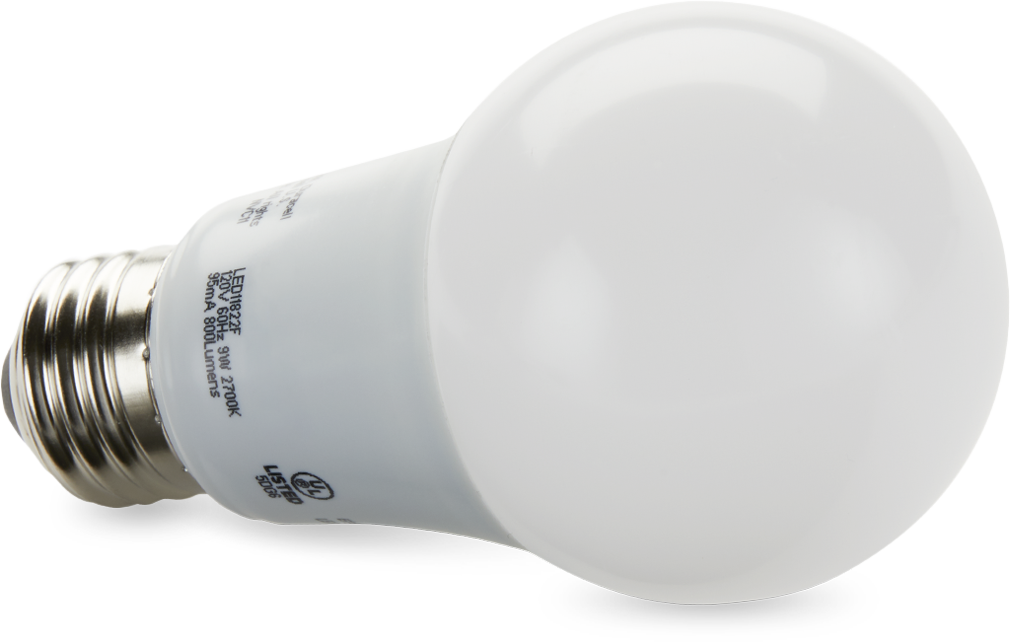
Why Won't My Lights Turn On?

Before you can fix your light fixture you need to first diagnose the issue. This will take some troubleshooting, but if any of these quick fixes work it could save you from costly repairs by an electrician.

If your light does not turn on, try the following quick diagnosis steps:

  •   Check to see if the light bulb has burned out. This can be done by looking at the bulb to see if it has any gray or black spots in it where it appears to have blown. You can also gently shake the bulb to see if anything sounds loose. If you find dark spots in your bulb or hear something loose in the bulb, it is likely blown and you should replace the fixture’s light bulb.
  •   Gently turn the light bulb to make sure it is tight in the socket. Over time, the bulb can loosen in the socket causing it to lose the connection with electricity. Simply gently tightening the bulb in the socket will reconnect it to the power source and hopefully cause it to light back up.
  •   Inspect the light socket. Remove the light bulb and look over the light socket to see if everything looks in order. Check for things like a flattened center metal socket tab at the bottom of the socket. If this appears bent or flattened, it could be causing the issue. Simply bend it back out to contact it to the bulb.

If your light turns on but then flickers, try the following quick diagnosis steps:

  •   Do you hear a sizzling or crackling sound when you are trying to turn the lights on? If so, this could mean the light switch is going bad and is no longer connecting properly. Your light switch will likely need to be replaced if this is the issue.
  •   One of the most common issues for flickering light bulbs is a loose wire at the switch or the panel box. You can check these wires at the switch, ceiling box or breaker box. Always make sure the power is shut off before working with electrical wires.
  •   Another issue related to flickering lights is a light socket that is going bad. If this is the case, you will need to replace the light socket.

Faulty Bulb?

If you've wondered how to repair a light fixture, the above information should help. After assessing your fixture, if you've determined that the source of your problem is a faulty light bulb, find a variety of replacement LED bulbs, smart light bulbs, incandescent bulbs, fluorescent bulbs and more at Batteries Plus. If you can’t find the bulb you’re looking for, please contact your local Batteries Plus store for assistance.

Browse Replacement Bulbs

FAQs

Typically when there's a problem with a light fixture, the problem can be traced to an interruption in the flow of electricity from the wall switch to the light fixture.

Troubleshooting a light fixture depends on what the problem seems to be. Does the light bulb not light up at all? Or does the light bulb flicker intermittently?

The light bulb doesn't light up at all.

  1. Check the light bulb first to see if it has burned out. If so, replace the bulb.
  2. Check to see if the bulb is tight in the socket. Sometimes, gently tightening the bulb will do the trick.
  3. Check the metal tab in the bottom center of the socket. If it has become flattened, you may have to bend it back up just a bit so that it can make contact with the bulb.
  4. Turn off the power to the circuit you're working on and check the connections at the switch and make sure that they are tight. Then, check the wire connections at both the light fixture and at the breaker panel to make sure they are all connected tightly. If you have concerns about these connections, you may prefer to consult an electrician. Unless you are very experienced at electrical work, do not tamper with connections in the circuit breaker panel.

The light bulb flickers.

  1. Typically, a flickering light means that the switch contacts bad. (Listen to see if you hear a sizzling or crackling sound.) If this is the case, replace the switch.
  2. Another option is that the wire connections are loose. This could be on the switch itself, at the circuit breaker panel, or in a pass-through wire connection in the wall box or ceiling box. Easily the most common problem is a loose wire connection at the switch itself, which is subject to constant on-off usage.
  3. Less common, but still a possibility is that the light bulb socket is failing. If so, replace that socket.

Common Problems With Recessed Lights, or Can Lights

The problems that affect ordinary ceiling light fixtures can affect recessed lights, too. Another (sort of eerie) problem that occurs with recessed light fixtures is that they may mysteriously go on and off by themselves. This is because recessed lights are equipped with limit switches designed to turn a fixture off automatically if they get too hot. If that happens, here's what you can do:

  1. Check to see if the bulbs in the light fixture are within the suggested wattage for that particular fixture. If the wattage is too high, the fixture may overheat. Compare the wattage on the light bulb with the rating printed on the fixture itself. Then, install a lower-wattage bulb, if necessary.
  2. If the insulation around the light fixture is packed too tightly, it may be trapping heat around the canister, causing the limit switch to overheat and shut down. Make sure there's enough space for air to circulate around the canister, which will prevent the fixture from overheating.
  3. The limit switch may be faulty. If the light bulb wattage is correct and there seems to be proper ventilation around the light fixture, the limit switch might just be the problem. Consider replacing the limit switch or the entire light fixture.

Problems With Integral Switches or Pull Chains

Some ceiling light fixtures are controlled by switches or pull chains found on the fixture or socket. Here's how to diagnose those problems.

  1. Check the fixture's bulb to see if it's loose or has burned out. Tighten the bulb or replace it, as needed.
  2. Shut down the power to the circuit and then check the socket tab in the center of the socket. If it's flattened down, you may have to pull up on it a bit in order for it to make contact with the bulb.
  3. With the power shut off, check the wire connections on the switch to make sure they're all tight. Remove the switch from the circuit and test between the wires with a continuity tester or with an ohm meter. (Check with a qualified electrician if this sounds intimidating.)
  4. Check the wires to the light bulb socket. If they are loose or have a burnt appearance, replace the socket.

Test a ceiling light socket with a non-contact voltage tester. Here's how:

  • Turn the power off (if it's a portable fixture, unplug it). Take the bulb out of the socket and turn the power back on (or plug it in if you've unplugged it). Use your non-contact tester to see if the socket has power. Turn it on and get it close to where the power should be. In an on/off screw-in socket, that's the brass tab in the center at the bottom. In a 3-way socket, it can be either the brass tab in the center of the bottom, or the small tab off to the side. In a fluorescent tube fixture, it's the lamp holders at each end—the tombstones—and in a GU10 socket, it's the two holes where you plug in the light bulb.
  • If you don't find power, scan down to replacing a socket. If you do, turn the power off before proceeding.
  •   If your fixture takes bulbs with a 2-pin GU10 bayonet base, and you don't have power coming into the socket, you'll have to take the socket apart to see if you can repair it. You may need to replace the socket.
  • If the socket takes screw-in bulbs, the round brass tab in the center of the bottom of the socket should have the incoming power on it (the neutral is connected to the threaded shell). The round tab should also be springy, to help it make good contact with the tip of the bulb. A common problem, though, is that over time that tab can lose its spring. Once that happens, it may not make good contact anymore. The good news is that it is often easy to correct that problem.

Restoring the Contact

Be SURE the power is off before doing this. If the socket is in a portable fixture that plugs into a receptacle or outlet, unplug the cord. If it's in an installed fixture, this is one time you shouldn't rely on killing the power with the wall switch—it's too easy for someone to flip it back on at the wrong moment. Turn the power off by flipping the circuit breaker or removing the fuse in the electrical panel instead.

For an on/off socket, or a 3-way socket that won't power the higher-intensity element in a 3-way bulb, once you're SURE the power is off, check the brass contact. You should see a relatively narrow piece extending from it to connect it to the socket and the power. What you want to do is to use a thin but sturdy tool, such as a small flat-blade screwdriver or a metal nail file, to lift the other edge of the brass tab gently. You don't want to overdo it and damage the tab. Just a small, gentle lift—maybe 1/16 of an inch, should be enough.

Once you've done that, and it looks like the lift is staying in the tab after you take your tool out, put on a glove and gently screw a good light bulb in. Then turn the power back on and see if it works. If it doesn't, kill the power and try lifting it just a little bit more. If that still didn't cure the problem, there may be a problem with the neutral wire. It's time to test for a complete circuit in the socket.

For a 3-way socket that won't power the lower-intensity element in a 3-way bulb, the loss of contact is with the small metal tab that should be sticking up between the center contact and the shell of the socket. If that little tab is broken or missing, you'll need to replace the socket. Often, though, it's been flattened just enough that it won't make good contact anymore.

Let's fix it. Make sure the power is off and use a small pair of needle-nose pliers to pinch the tab and straighten it up. It will probably be flattened toward the center of the socket, so you'll need to send the pliers in from across the socket (from the opposite side of the opening). Pinch the tab with the pliers and bend it more upright. Once you've done that, set the pliers aside, put a glove on your hand, and install a 3-way bulb that you know is good. Then turn the power back on and see if it's working. If not, you can try gently bending it one more time. If that still doesn't fix the problem, you many need to replace the socket. A 3-way socket that will power either element in a 3-way bulb has a complete circuit, so there's no need to test for that.

And lastly, for fluorescent tube fixtures: Check the tombstones, which are the pairs of lamp holders that each tube fits in to. Make sure they're held firmly in place and aren't damaged. Replace any that are.

How a Light Short Occurs

Generally speaking, a typical light fixture isn't complicated. A pair of wires, one white and one black, connect to the socket. There may also be a third wire, which is bare or green and is for grounding the fixture. In lieu of wires, some fixtures have terminal screws to which you attach the circuit wires.

A short can occur when any of the wire connections are loose or when the wire insulation has worn or melted, which could occur if you use a bulb with a greater-than-recommended wattage. Corrosion inside the socket or on the bulb threads can also cause a short by allowing the side of the socket, which is one of the socket terminals, to come in contact with the knob on the bottom, which is the other terminal.

You'll need to turn off the power and take a look inside. The heat produced by arcing melts plastic and leaves soot-like deposits. If you see this damage, you've found the short.

Fixing the Light

When you figure out where the short has occurred, you can fix it. If you see a melted wire, you can often cut it out and splice in a new wire of the same gauge, although this is more difficult if the wire is very close to the base of the socket. Sometimes, the best approach is to replace the socket or the entire fixture.

If the short was caused by a loose connection, make the connection tighter. However, you should look carefully for frayed wires and twist the wires to consolidate the strands. Some shorts are caused by a single strand that sticks out and contacts another wire or terminal screw. It's also a good idea to replace charred terminal screws because the carbon deposits left by arcing can interfere with conductivity.

A Short in the Wiring

Long-term exposure to the heat generated by a light fixture can crack the insulation of wiring and expose the conducting metal. A short occurs when the exposed conductor comes in contact with the base of the fixture, a metal electrical box or another exposed wire. The short can happen anywhere along the length of the wire and may be due to something unrelated to the light… something as simple as someone pounding a nail into the wall and accidentally puncturing the wire sheathing.

You can find the shorted wire by disconnecting the fixture, turning off the power and doing a continuity test with a multimeter set to measure resistance. Touch the leads to the exposed ends of the hot and neutral wires. If the resistance is very high, or the meter display reads OL (open line), the wire is damaged, which means the fixture is okay, but you may need an experienced electrician to help you find the short in the wire.

The easiest way, of course, is to replace the existing bulb with one you know to be new or working. If you don't happen to have one, you can use a light socket tester or test the fixture with a multimeter. There are two ways to check a light socket with a multimeter, one requires the power to be on and the other is done with the power off.

The first test is a voltage test, which you perform with the multimeter set to measure AC voltage in the 200-volt range. The second test is a continuity test to check the resistance between the light fixture terminals. For this particular test, set the multimeter to measure resistance. You perform a continuity test with the power off, but it isn't conclusive unless you disconnect the fixture.

Every tool kit should have a multimeter because it can help diagnose problems with a wide variety of electrical fixtures. A typical multimeter has a large number of dial settings, and if you're doing a light bulb socket voltage test, you set the meter to a voltage range suitable for household circuitry. Since residential circuits operate at 120 volts, the best setting is usually 200 volts.

Some multimeters distinguish between DC and AC voltage, with the latter being designated either as VAC or as V with a wavy line over it. You're measuring AC voltage, so choose VAC. After choosing the voltage setting, insert the black lead into the common port (COM) and the red lead into the mAVΩ port, remove the bulb, turn on the power and you're ready to run a test:

  • Hold either lead on the metal socket casing.
  • Touch the bulb at the bottom of the socket with the other lead.
  • Record the reading. If it's somewhere close to 120 volts, the fixture is good. If you get a reading of zero or one significantly less than 100 volts, the fixture is bad.

How to Test Continuity

Electricians use a continuity test to determine if there's a break in the circuit, so the fixture must be isolated from power to get a reading. If you have a plug-in lamp, you can just unplug it, but if you're testing a wall or ceiling fixture, you need to disconnect it from the circuit after first turning off the power.

A continuity test measures resistance (Ω), and an appropriate meter setting is a mid-range value, or about 2kΩ.

  1. Touch one lead to the ground screw or ground wire on the disconnected fixture.
  2. Touch the other wire to either the socket itself or to the bubble at the bottom of the socket. It's best to do two separate tests, one for the socket and one for the bulb at the bottom.
  3. Note the meter reading. If it's close to 0, the fixture is good. If the meter jumps all the way to the right or reads OL, which means open line, the fixture is bad.

The Light Socket Has Power but the Bulb Won't Light

If your voltage or continuity test shows that the fixture is working but the bulb won't light, try another bulb. If that doesn't work, the problem is probably corroded terminals. To clean them, you need to unplug the lamp or turn off the switch and the breaker.

Rub the inside of the socket with a rag or toothbrush soaked with isopropyl alcohol. If you can see visible rust, scrub it off with the toothbrush or use a small piece of sandpaper. Clean the bulb at the bottom of the socket in the same way.